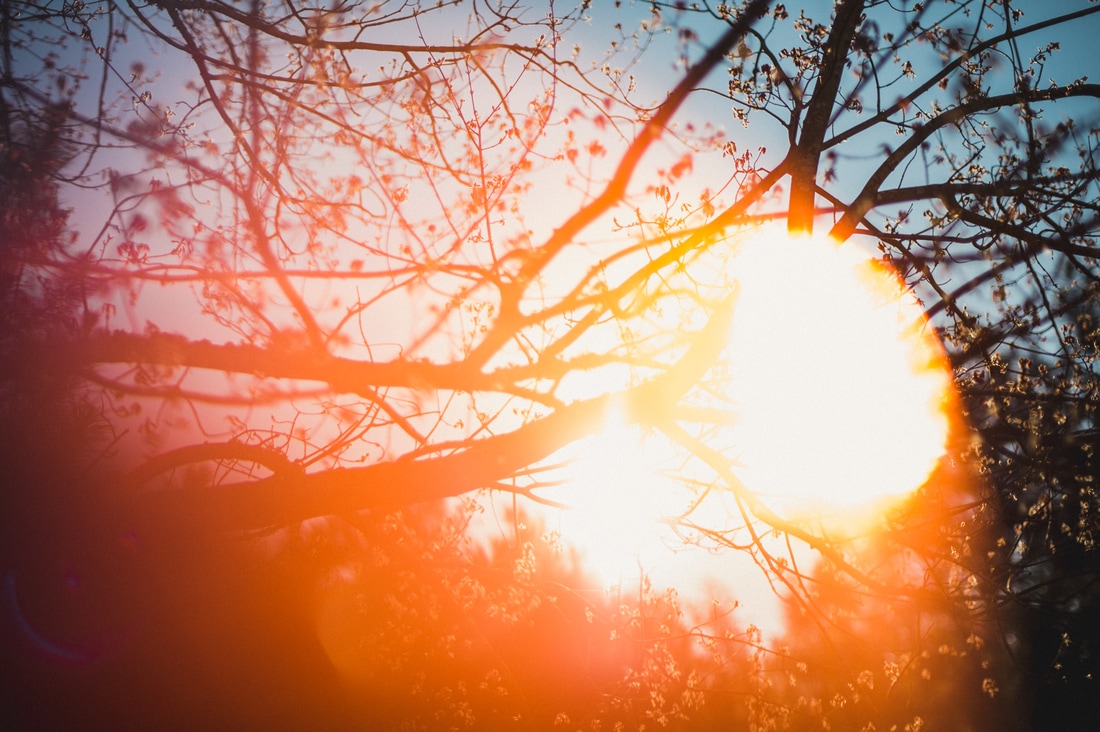
 Film light leak / burn look I remember how important it was for me for a photo to be free of ghosting and flares. The lenses needed to be flare resistant, a hood always needed to be in place and a very (and probably expensive) anti-reflective filter required.
Now days hoods are off, filters are only used when required (ND filters for example) and there is always a sense of bringing some form of organic look to my photos. I believe reflections and flares help on achieving this goal. Modern lens tend to be design to minimize this type of imperfections so in most cases one needs to get creative. Here are a few techniques and lenses I've used recently to achieve this look.
0 Comments
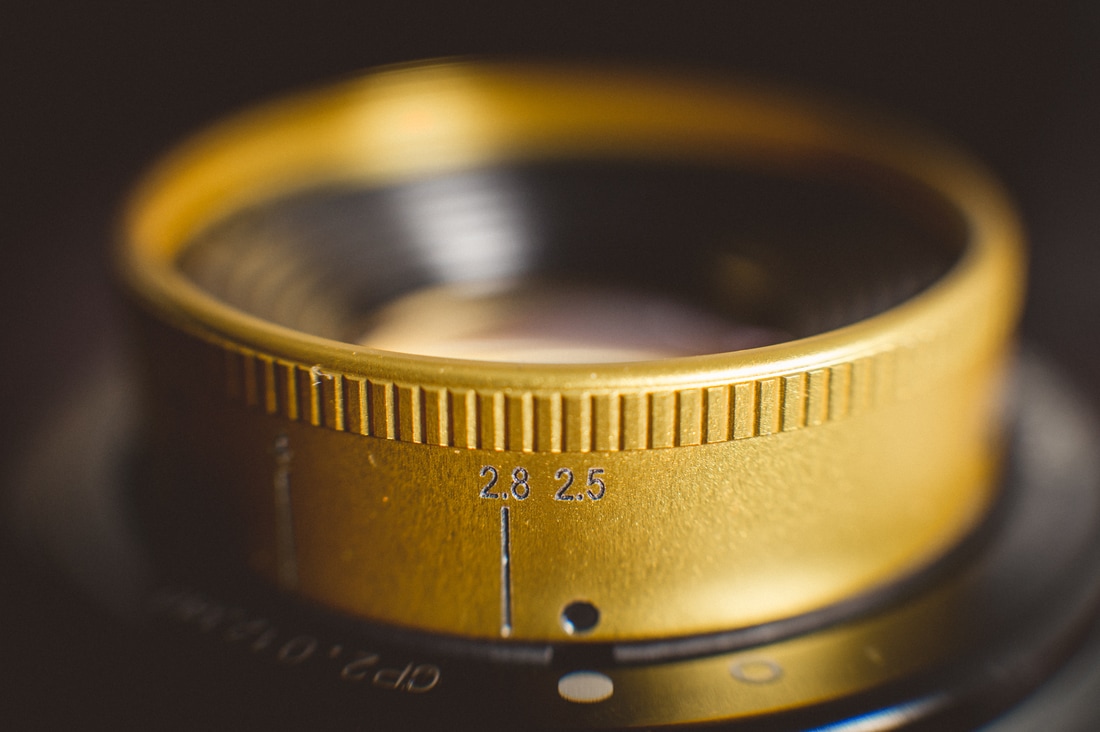
Let me just start with a quick summary of the lens and we can get into the little details afterwards: Its a fun, inexpensive, manual lens that renders beautifully with subjects sharply separated from the background with a swirly dreamy bokeh that in the right conditions flares in a very unique way. Lets move on to the details. 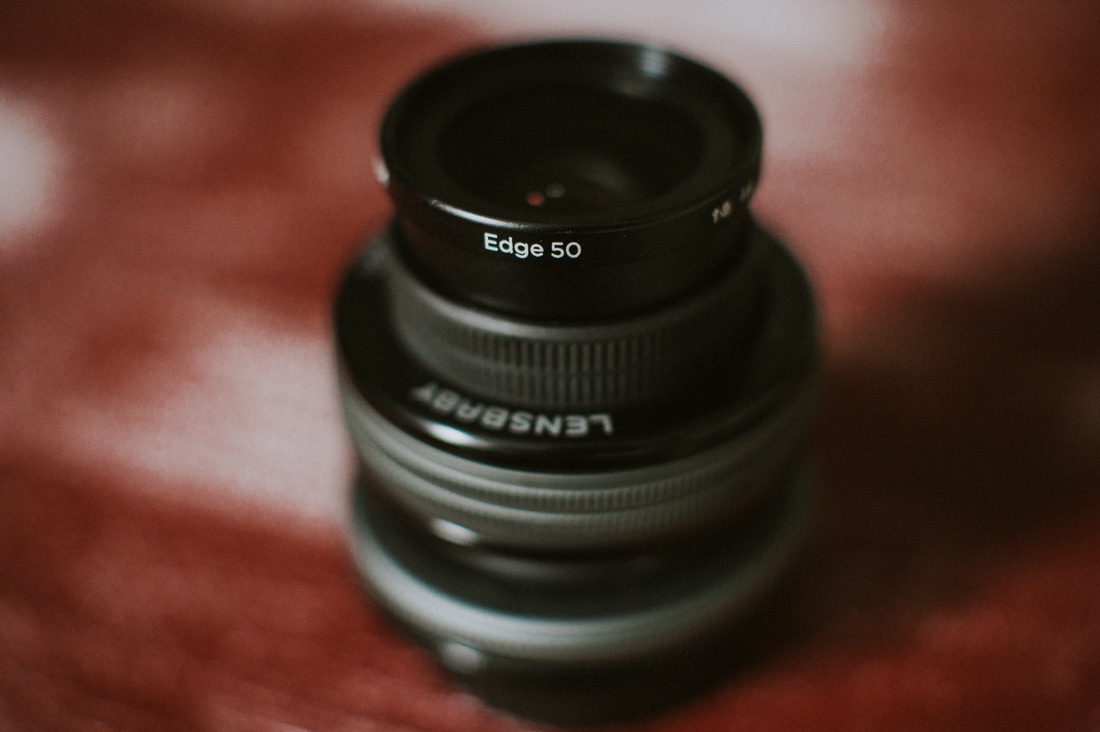
A Review of the Lensbaby Composer Pro II w/ Edge 50 Optic
In case you aren’t aware Lensbaby is a company that specializes in lenses and optics with creative effects. They range from selective, slices, swirly focus and more.
They have a swappable optical system that allows you to own different optics with different focal length and effects using a lens mount called the Composer. With the composer you are going to be able to tilt the optics to change the focus plane. In essence its a simplify, and a lot more cheaper, version of the Tilt capabilities of a Tilt-Shift / Perspective Control lenses. You start with buying a Composer with an optic and you expand your system as more optics are desired. 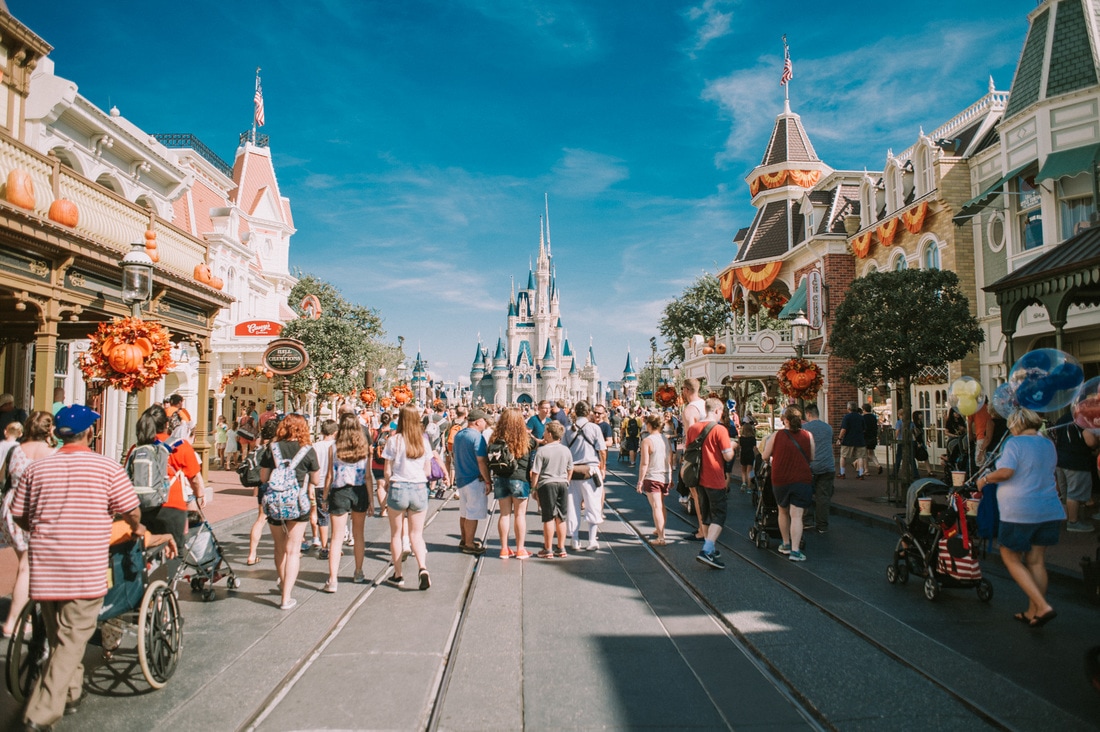 For many years we weren't able to get a proper vacation. Reasons varied but one of the them was the fact that our kids were too young for something as physically demanding as a Disney Park and because our little boy has ASD. Disney is a beautiful place no question about it but it can be very crowded and it demands patience, which of course kids lack.
Last year we took our chance and we spent a week between South Florida’s beaches and Disney. Since this was the first time, we only went to one of the parks: Magic Kingdom. We also took the monorail which allowed us to look at Epcot Center and visited Disney’s Springs (formally known as Downtown Disney). It was totally worth it. Our kids loved it and hopefully we’ll have the chance to go again this year. Until then, here are a few of the photos I took specifically on the Disney trip. [Update]: For those interested, all shots were made with a Nikon Df. Most of the photos were taken with the Nikon 58mm 1.4G and the 24mm 2.8D. If you see something more compressed, it was the 135mm f2 DC. I was very happy with the results, but I wished I had a faster 24mm. The Df is amazing at low light, but there is some cases in which you need more light like the Haunted Mansion for example. If we are lucky to go again this year, I'll probably invest on the 24mm 1.8G. - dr I hope that some day I'll be able to do all the blog posts and reviews I've been wanted to write. In the meantime here a couple of samples between two 58mm f1.4 lenses: the Voigtlander Nokton f/1.4 SL-II and the Nikon 58mm AF-S f/1.4G.
I don't really do this type of side by side comparisons but since 58mm is such an obscure focal length I though it could be an interesting post. These test aren't scientific in a way and more on how they look overall. Shots were taken with a Nikon DF and processed by Lightroom. Although the photos are processed with Lightroom to my taste, the settings are the same between both lenses except for some cropping on the 80-200 shots & some exposure compensation. Settings like contrast, detail, sharpness and grain were set to 0. No lens correction has been applied. I'll try and get some more side by sides shots, this time with humans involved. I have a cap on the file size on this website so I had to down sample the images in half so I uploaded the photos to flickr just in case: https://www.flickr.com/photos/castlev/ 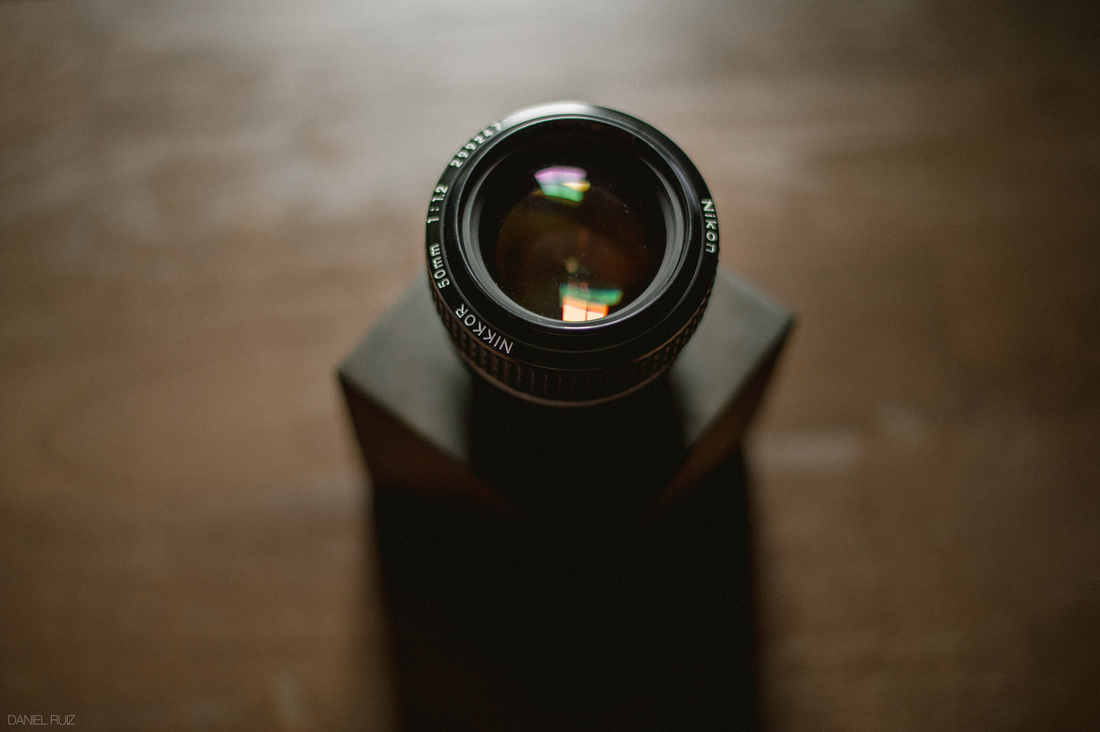
A Review of the Nikon 50mm 1.2
Lets start with this: 50mm is my favorite focal length. Always have been. I’ve had many lenses in the past. Some I still have, some are no longer with me. But the truth is, I own more than a few 50s. My first 50 was the Nikon 50mm 1.8 AF-D which was an awesome lens considering the other lenses I had at the moment. I replaced it with the newer 50mm 1.8G a few years later but I bought it again to create a freelensing lens. More about that freelensing lens here: http://iamdanielr.weebly.com/blog/freelensing-saying-hello-to-an-old-friend But even before getting the 1.8G I was able to test the 50mm 1.4G I borrowed from a friend of mine. Unfortunately I disliked the lens. There was simply something I didn’t liked about it, the bokeh being one of them. Once I bought the 1.8G, my friend lend me the 1.4G again for comparison. My view didn’t changed about the 1.4G and I kept reaching out the 1.8G. So I kept using 1.8G for many many years. The 50mm 1.8G is a great lens; a good performer at a very affordable price. I kept expanding my lens bag with other lenses with different focal lengths to diversify my photos but I always kept thinking on replacing the 50mm with something better or something different. That's when I realize that I could get the Nikon 50mm 1.2 AI-S. Its a very old lens that Nikon still carries on its catalog. Its a built as a tank, manual focus lens with no electronics whatsoever.  a family usie at last! 2015 was a very interesting photography year for me, specially on the gear side.
Yes yes, gear is not everything, that we agree, but sometimes it does take to try a few things here and there to open up your horizons. Sometimes you don’t know what you are capable to do until you have the tools in front of you. Sometimes its simply getting out your comfort zone. I expanded earlier on 2015 my trusty trio, the 35mm, 50mm, 85mm with: - Broken 50mm lens for freelensing. - 24mm wide angle lens. - 135mm telephoto lens. - Macro extension tubes for converting any lens into a macro lens. Considering how much I love the 50mm, I was surprised how useful and interesting the 24mm and 135mm lens became. Specially on a lovely wedding I took by the end of summer. By the end of the year I got a 50mm 1.2 and sadly / happily my Nikon D700 was replaced by a camera not necessarily better, but certainly with more character, the Nikon DF. I even created a DIY ring light; which is awesome, if it wasn’t by the fact my kids keep breaking my light bulbs :S I hope that in 2016 I’ll have the time to write those blog posts I wanted to write in 2015 (D’oh!). So, here it was, 2015: 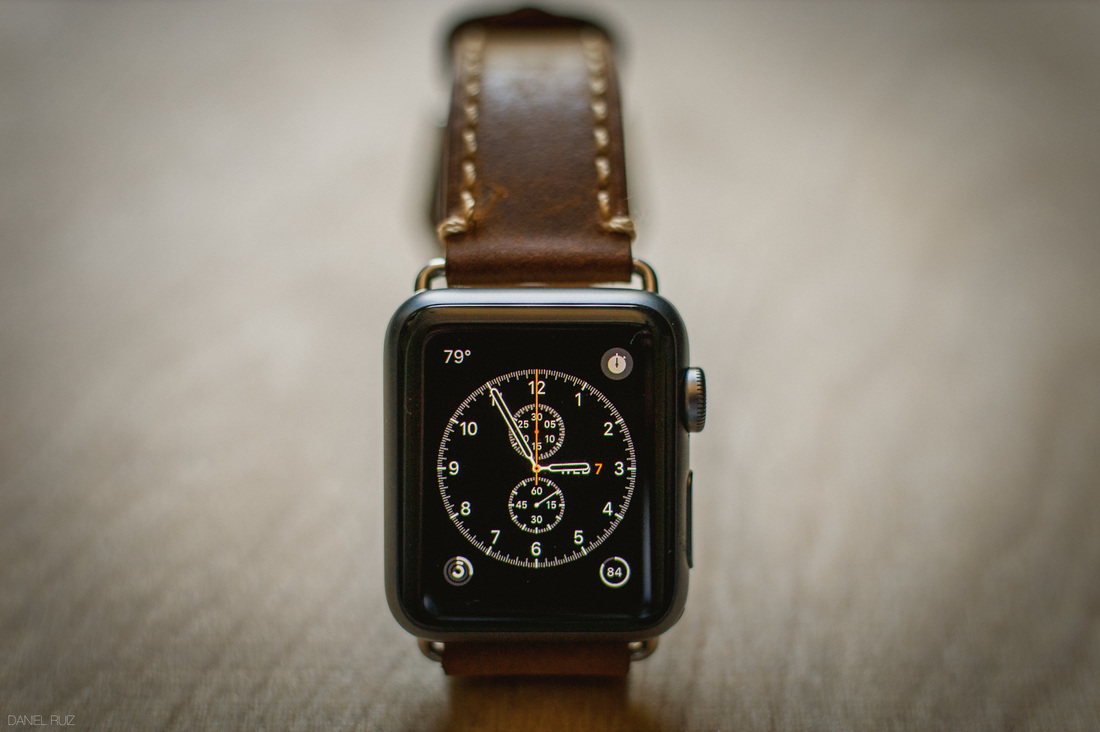 apple watch sport with custom band I bought an Apple Watch for my wife on her b-day.
I thought she was going to like it and find it useful due to the size of her current phone, an iPhone 6 Plus. She used to miss calls, not respond to messages and so on. The culprit? Again, the size of the iPhone 6 Plus. It’s just easier to throw the thing into a purse or bag. So she got it, the silver with white band Sport Edition, she then bought a screen protector and a pink silicon bumper for it. She also change the watch face to an animated butterfly that is soo smooth it looks alive. She then bought a band that looks like bracelet that includes its own bumper / case. Apple was right when they said it was their most personal product ever. I believed it when I got mine. 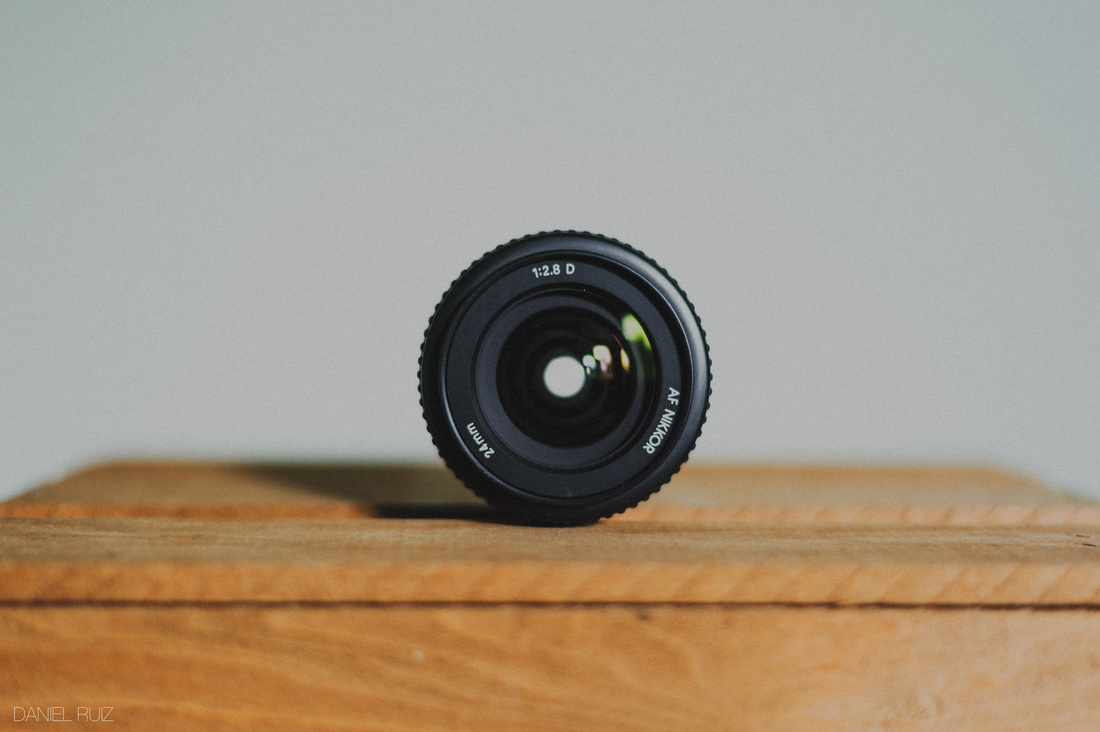
wide open. its a very small lens.
A Quick Review of the Nikon 24mm AF-D
The important things you need to know: the Nikon 24mm 2.8 AF-D is light, small, fast and accurate, photos look great and you can get it cheap.
If you want to continue reading, please do after these samples:  dark side of the moon A few months ago I acquired a 135mm lens and I wanted to do a full review of it, but you know what? there is so many lens reviews out there that one more is not necessary. Instead, I will give you my personal take on the focal length for every lens I owned so that it doesn’t matter which brand of camera/lens you use.
135mm Why am I calling it the Lost Focal Length? Is simple really: not too many people talk about it. |
